- Download and install Picasa
- Open Picasa and select the ‘Import Photos and Videos’ option
- Choose your file type.
- Decide whether you want to add the photos to an existing album
- Choose the photos you want to add and select the ‘Import’ option
- Select the destination album and click ‘Import’ to add photos
- You can also delete and rename albums and add new albums
- Use the ‘Share’ option to share photos and videos
- Launch Picasa
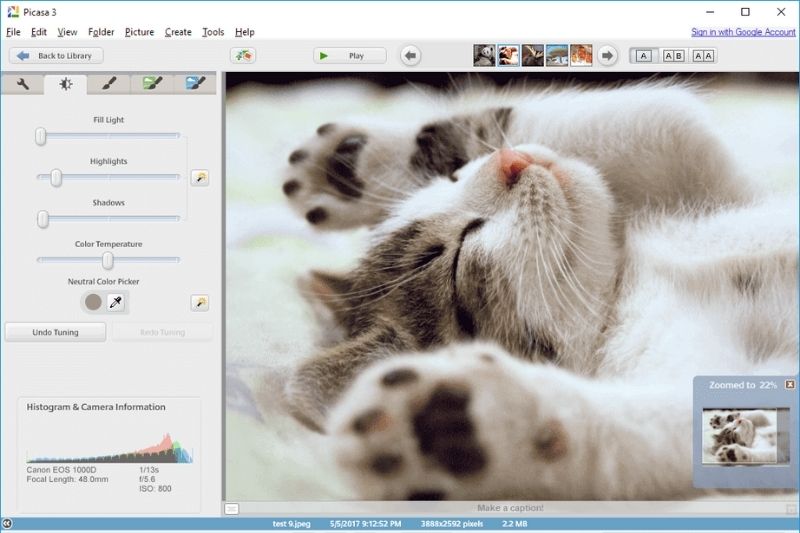
- Picasa is a photo editing and image management application that was developed by Google.
- Choose what you want to edit
- Open the album you choose to edit and make your changes.
- Edit your photo
- Edit your photo by adding text, changing colors, and adjusting brightness.
- Save your photo
- Save your photo and share it with your friends and family.
22 Oct 2021

 Best Apps Similar to Picasa
 Step-by-Step Guide How to Use Picasa